Guides
The quality routine of a flooring contractor business
A flooring quality assurance checklist by job stage: what to verify at the measure, before installation, during the work, and at handover, with the evidence kept.
What to take away
- Check at four points, not one. The measure, the morning of installation, the work itself, and handover each catch different failures.
- Most of what belongs on the list is verification of conditions, not inspection of finished work. By the time the floor is down, the expensive mistakes are already made.
- Every checked item should leave evidencea reading, a photograph, a signature or a note.
- Give the crew the same list the office uses. A standard nobody carries is a standard nobody follows.
Stage one: at the measure
- Room dimensions field-verified, with closets, bump-outs and openings recorded separately.
- Existing floor identified, and its age and construction noted. In an older building, suspect resilient tile or black cutback adhesive is flagged for testing before anything is disturbed.
- Subfloor type identifiedslab, wood panel over joists, or an existing floor to be covered.
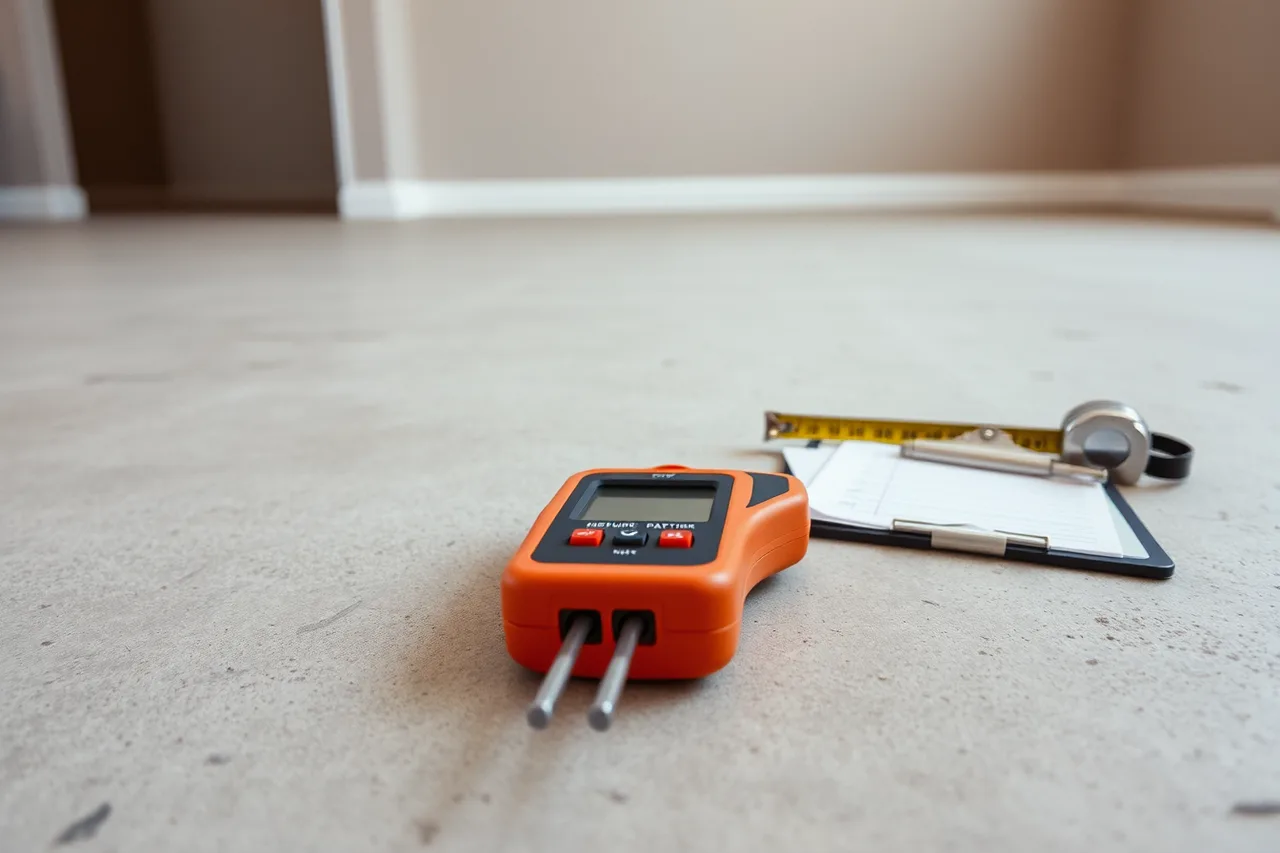
- Moisture readings taken by the method the product instructions name, recorded with date, location and the person who took them.
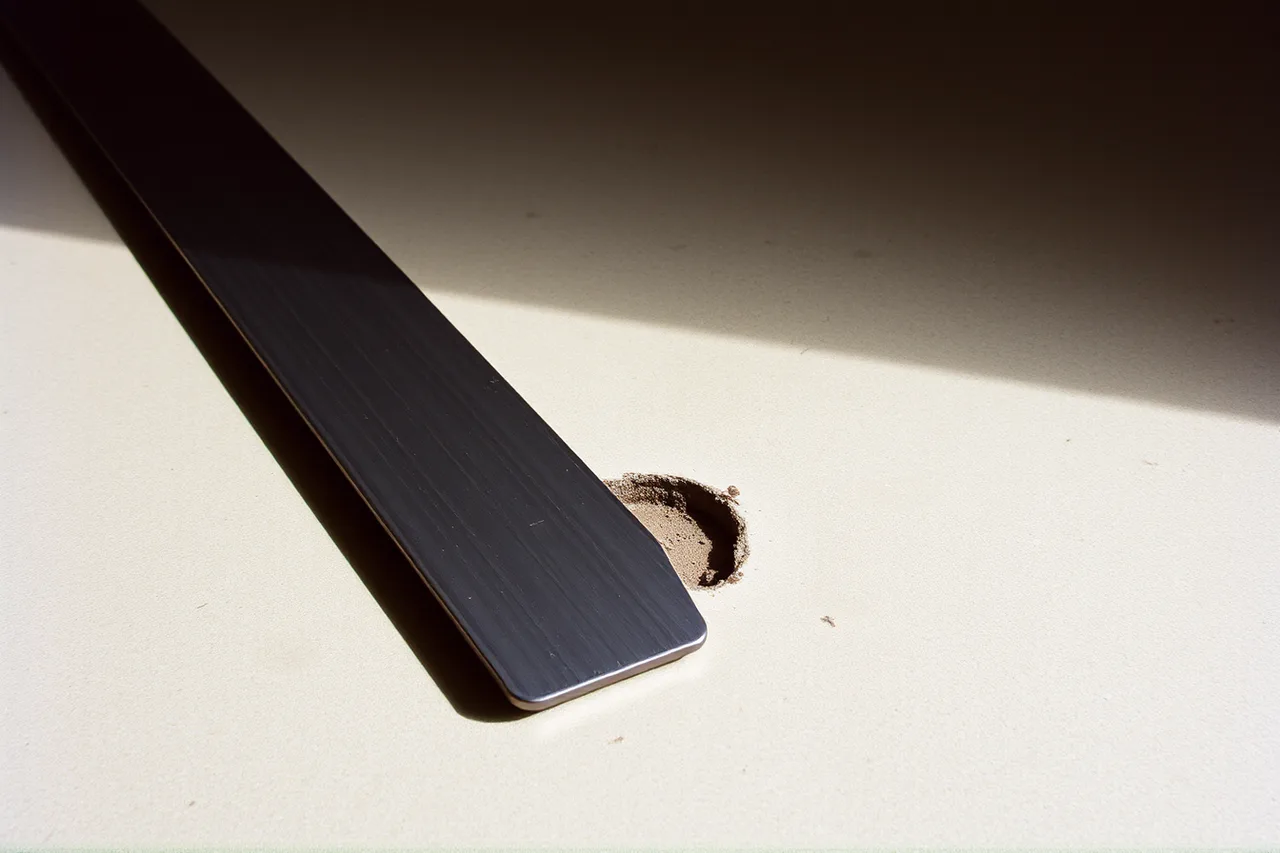
- Flatness checked with a straightedge against the tolerance in the installation instructions, with the worst gap noted.
- Transitions and height changes at every opening photographed and counted.
- Stairs counted by tread and riser, with the nosing detail noted.
- Access, parking, power and any elevator booking confirmed.
Stage two: the morning of installation
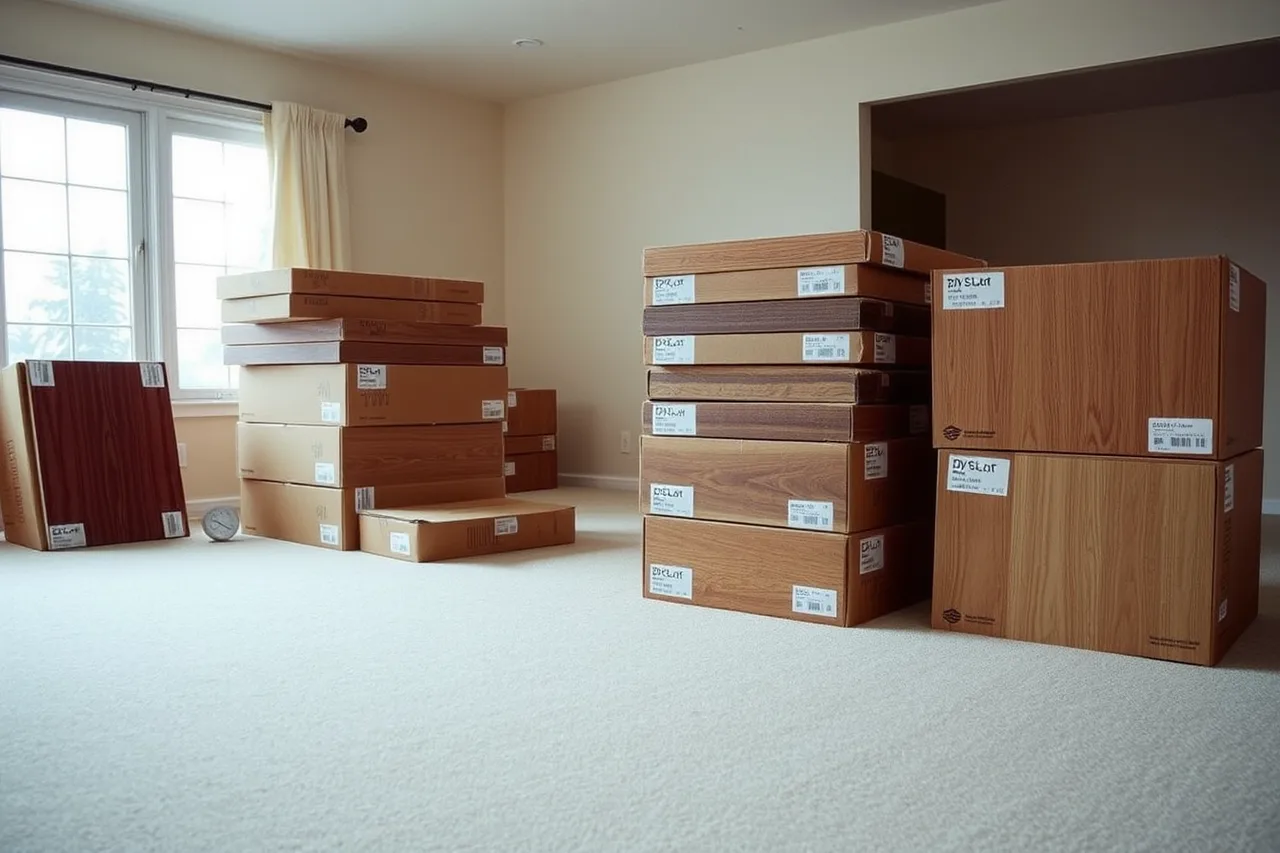
- Material on site and acclimated for the period the instructions require, with the building at service conditions.
- Dye lot or batch checked across all boxes or rolls before any cutting.
- Readings retaken and compared with the measure record. A changed reading stops the job.
- Rooms cleared as agreed, and the customer's responsibilities confirmed rather than assumed.
- Protection in place for adjacent floors, stairs and door casings.
- Dust extraction and ventilation ready before any grinding or adhesive work begins, following the hazard controls in the OSHA recommended practices for safety and health programs.
Stage three: during the work
- Layout confirmed before the first rowdirection, starting line, and where the seam or transition will fall.
- Perimeter expansion gap left as the instructions require, and not later pinned by trim or a threshold.
- Joint stagger, adhesive coverage or fastening schedule matching the manufacturer's method, checked in the first hour rather than the last.
- Preparation quantity measured and recorded as it is performed, so the billed quantity matches the work.
- Offcuts and waste tracked against the takeoff allowance.
- Daily cleanup, with the site left safe for the household overnight.
Stage four: handover
- Acceptance walk with the customer, in daylight where possible.
- Punch list written, with a date beside every item, including any item you dispute.
- Transitions, thresholds and trim checked at every opening.
- Care instructions given in the manufacturer's terms, including anything that would void the warranty.
- Attic stock and leftover material handed over or disposed of as agreed.
- Job file completedreadings, photographs, signed scope, change approvals, disposal receipts, filed so costs and evidence stay together in the way the Internal Revenue Service describes for business records.
- Review request sent to this customer as it is sent to every customer, without selecting who gets asked, which is the practice the Federal Trade Commission guidance on soliciting reviews expects.
What each stage is actually protecting
| Stage | The failure it prevents | Cost of catching it later |
|---|---|---|
| At the measure | Quoting a job whose substrate you never assessed | A change order in a stranger's kitchen |
| Morning of installation | Installing over a condition that voids the warranty | A rebuilt floor at your cost |
| During the work | Layout and method errors that repeat across a whole room | Rework in crew days |
| Handover | Disputes about what finished means | An unpaid invoice and a lost referral |
Using the list without turning it into paperwork
Keep one page per stage, with the crew ticking boxes on a phone. Audit three completed job files a month, not every file, and look for the same box unticked twice.
A repeated gap is a training or scheduling problem, not a discipline one. It usually points to a stage where the day was too short for the work.
The reasoning behind these checks sits in the service quality guide. The meters, straightedge and dust control that several items depend on come from the equipment and setup guide and the crew equipment checklist, and the records that overlap with regulatory duties are set out in the licensing and compliance guide.
Common questions
Is a checklist enough to prevent callbacks?
No. It prevents the ones caused by a skipped step. The rest come from decisions made under schedule pressure, which is a planning problem.
Who should hold the list?
The installer doing the work, with the office auditing a sample. A checklist filled in afterward by someone who was not there is a record of nothing.
What if the customer will not do the acceptance walk?
Do it yourself, photograph the result, and send the punch list with a date. Silence is not acceptance, but a documented walk protects both sides.
How do I stop the list from growing?
Retire any item that has never caught anything in a year, and add nothing without removing something. A checklist people finish is worth more than a complete one they skip.